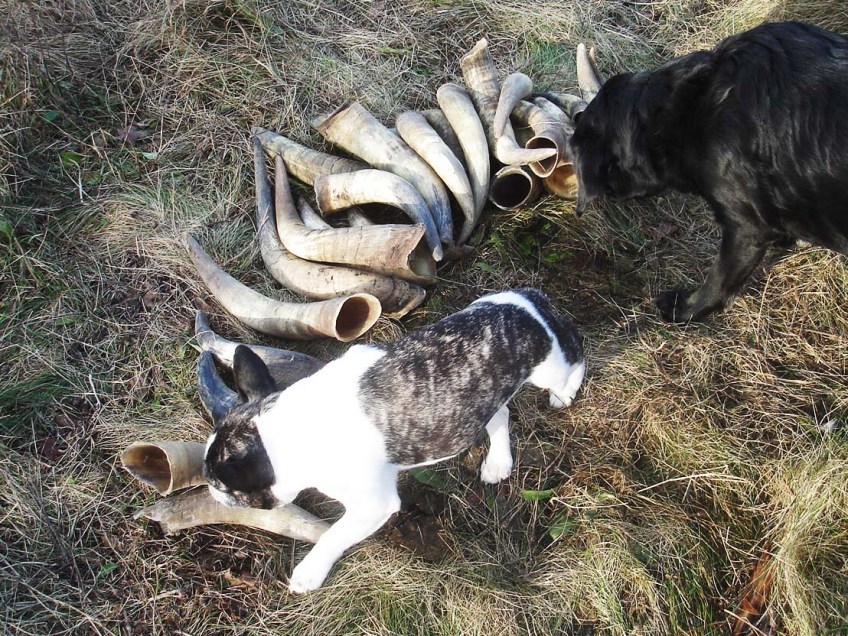
DJ and Moji inspect the cow horns
The biodynamic approach to agriculture is similar to organic agriculture, in that there are no chemicals or artificial fertilizers used. From there, it diverges into… I’m tempted to say “outer space,” it is that different. And I would not be too far wrong, since the constellations, especially the moon, are recognized as influencing the way things grow, the way the soil behaves, and so forth.
I am only starting to scratch the surface of biodynamic farming. My interest started with a series of courses given at the local women’s centre by horticulturalist Rosmarie Bradley Lohnes. My first foray into biodynamic practice was with a planting calendar. What happened was enough to convince me that these unusual and almost ritualistic activities were not just ideas; I could not explain how what I did produced the results, but the results were there all the same. I plan to write about my experiments using the planting calendar in later posts. Stay tuned!
So now I am going further into it, with the “preparations.” These are based on formulas and information offered by Rudolf Steiner during a series of agricultural lectures given in 1924. The preparations are created to increase life in the soil and to stimulate the plants to grow in ways optimal to their particular form and purpose. Biodynamic approaches do not see things in a merely chemical way; substances are only part of the story, along with forces.
I read about the role of natural forces, and how they come into play in powerful and sustaining ways when our work processes and materials support harmony. For example, chemical products that kill insects and soil life are not going to engender better quality food! Not just because they contaminate the soil and vegetables with chemicals, but because they are also working against the forces inherent in the world which work together to create more life. The foods that are created using such things will have less to offer those who eat them. I can grasp that concept, it makes sense to me.
My success with planting led to more understanding of the concepts behind it all. It took a bit of reading and a workshop to get me ready to take the next step. It all seemed very complicated at first, and I still have a great deal to learn; so many different preparations and methods that I have never encountered. So I took it step by step.
I started thinking, wouldn’t it be nice if I had a cow? I could really give biodynamics a try. Wouldn’t you know it? A cow became available, along with the funds to buy her and the help to set up fencing and housing, transportation to get her here, and even a young bull boyfriend just moved in next door! It all happened rather fast. So I was all set to continue on my biodynamic path, including making preparations.

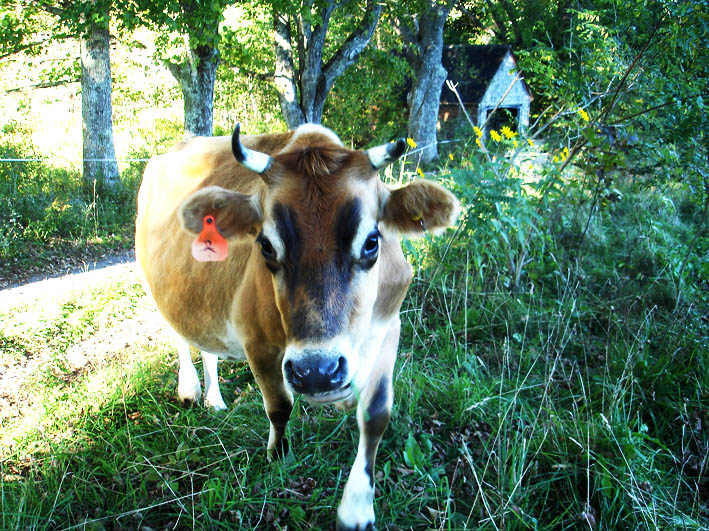
Molly munches comfrey
One of the basic preparations is the cow horn manure. This preparation is used to spray on the soil and increases the fertility, increases microbial activity and, in biodynamic terms, makes the soil more alive.
Basically you must take the manure from a cow–and not just any cow, it must be a cow who has had a calf and is preferably lactating–and place it inside horns–and not just any horns, they apparently should be from female cows–and bury these filled horns in the Fall. They are then left in the ground for about six months, and dug up in the Spring. If all goes well, the fresh dung will transform into crumbly dark compost-like material.
In reading up on the subject, I came across some articles about wineries using biodynamic methods to produce distinctive wines, from healthy vines. One of those who converted to biodynamic methods said he tried the cow horn manure experiment, and also put some of the manure in other containers, along with the cow horns. When dug up in the Spring, the cow horn manure had converted into crumbly, pleasant-smelling fertilizer; the manure from the other objects–such as an old shoe, a glass jar, a clay pot–had not transformed, except to become very wet, green and smelly!
So I ordered 25 horns. The lovely Molly has had a calf at some point in the past, because I was milking her until recently. I also chose a few non-horn objects to fill with manure and bury as well. I buried the horns the first week in December, which is a bit later than the optimal time; I will be digging them up before six months are up. Ideally, around the autumn equinox is a good time, marking the beginning of the cold season, and leaving a good half year to have the horns underground. In a previous post I referenced Persephone, and the reason why the horns are buried underground in the winter. You can read that post here.
I will present the steps involved, with the hopes that some of you will be interested in trying it!
First of all, you need to obtain cow horns. This can be from an abattoir, or from one of the people who make it a practice to collect these horns and distribute them to biodynamic farmers. In the U.S. the Josephine Porter Institute can tell you where to find horns. They are also a good source of information on biodynamics. I sourced them through a local biodynamic contact. You can find some biodynamic farmers or gardeners in your area and ask them.
You will also need a good source of cow poop. If you don’t have a cow, a nearby dairy or small farm with a milking cow is probably your best bet. It should be fairly fresh, but not too liquid.
Nice Fresh Cow Poop!
The hold should be about 18 inches deep (46 centimetres). It is important to pick the right site for a hole! Preferably on a high spot of land, where drainage is good. If on low land, the water table might flood the horns and ruin everything. If no high spot is available, the preferred site can be built up, and the horns buried in the mound. They will still need to be covered by about the same amount of soil. The quality of the soil should be decent, with good porosity and organic matter.

Hole for horns
The horns need to be filed. I used a stick to poke the contents as far into the end of the horn as I could. You might want to enlist some help if you have a lot of horns to fill. It took me and a friend about 45 minutes to fill 25 horns.

Filling the horns
Place the horns in the hole with the open end facing down. That way, the surface water draining down will not fill the horns with moisture.

Place the horns
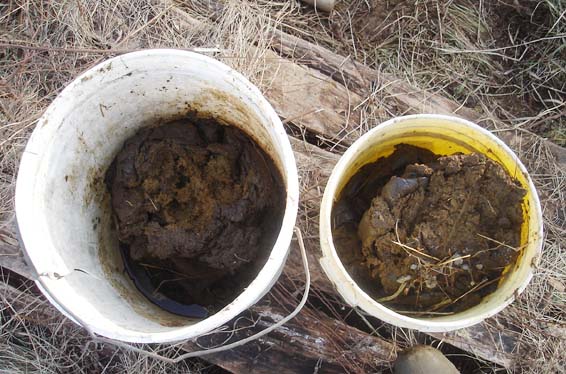
II also chose to replicate the experiment of the wine expert, by filling a few objects of varied composition, such as a glass jar, a hollow bone and a clay pot.

Control experiment!
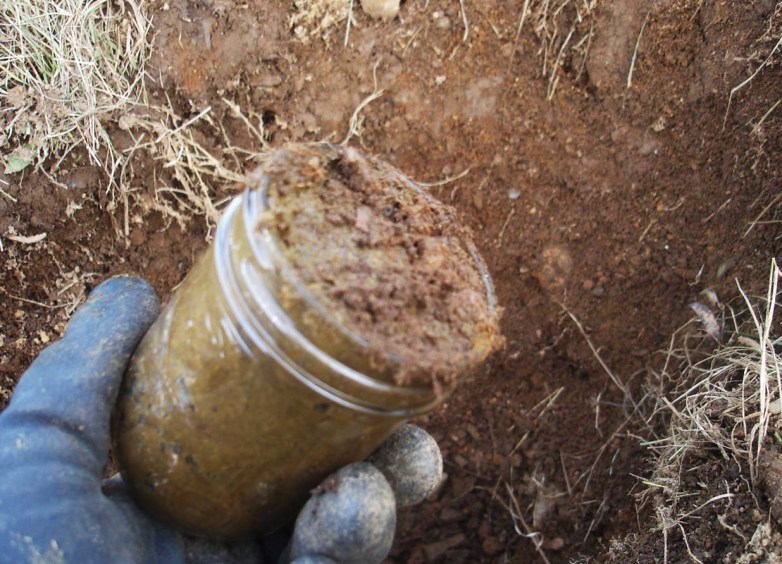
Control Object
Now we are ready to bury the horns, but not before Chief Inspector DJ makes sure the job has been well done!
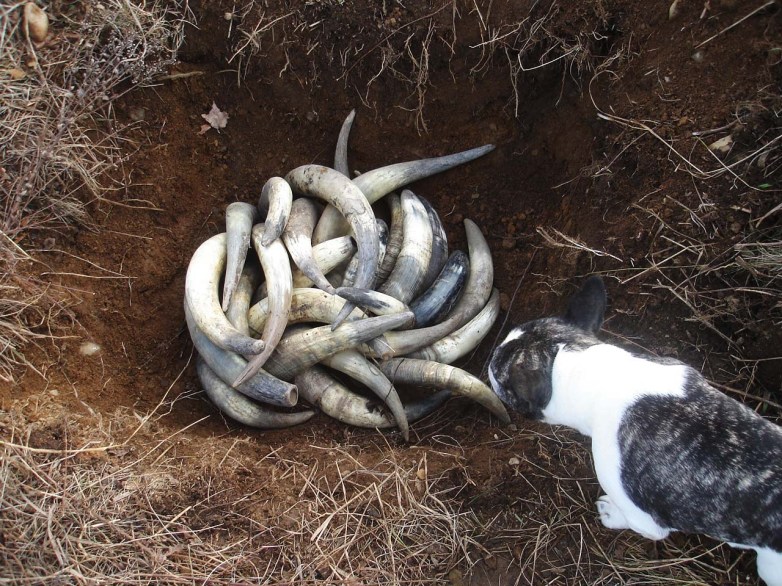
Dj gives the okay before the horns are buried
Here we are in January. The horns have had almost two months buried in the earth by now. I wonder what’s happening? I plan to dig them up around the end of April. Hopefully we will have a better Spring than last year, which was exceedingly wet. And we can see for ourselves if a transformation has happened under the blankets of ice and snow!